Review: Little Windows
 Over the weekend I attempted to make resin jewelry using my artwork and the Little Windows kit I ordered. The instructions were easy to follow and I had some successes and some failures when I went a bit more experimental (which is to be expected).
The resin that I’ve worked with in the past was usually the type that dried pretty quickly, had a strong odor, and sucked when it got on your hands (sticky is the closest word I can think of). It was a good type of resin to pour over a large surface (like a table) and let set for several hours, but terrible if you wanted to be artistic with it.
The Little Windows resin is a much slower drying resin and lets you take your time setting pictures. I didn’t feel rushed when I created my jewelry pieces and I didn’t worry so much when I made or placed an item in the wrong place because I could easily move it.
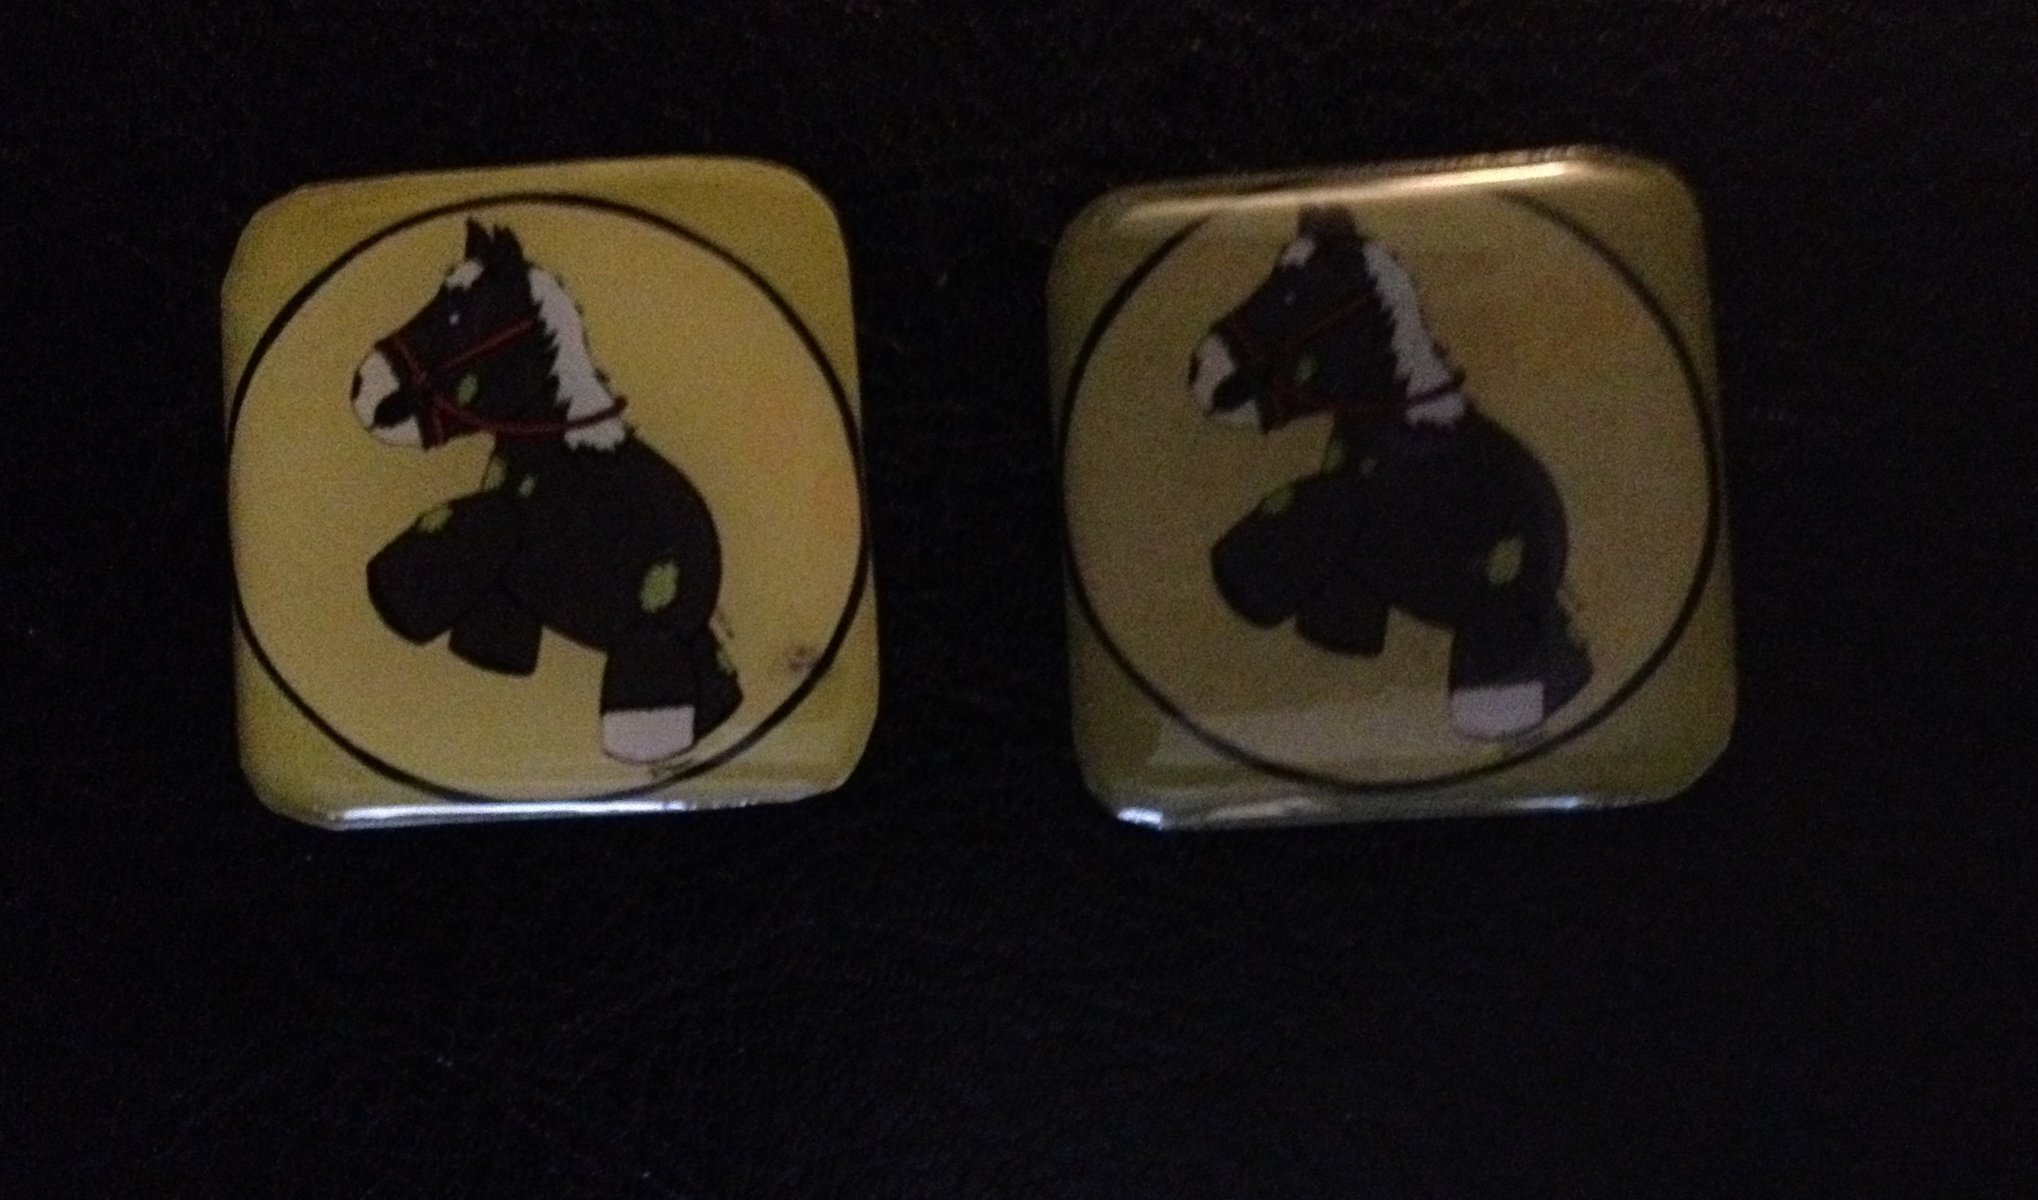
![IMG_2038[1]](http://www.artofdawn.com/wp-content/uploads/2013/06/IMG_20381-e1370461150540.jpg) But back to my experience with this product. So the first batch I decided to follow the instructions to the letter and came out with some good results. I used the kit’s mold and also followed their doming tutorial to create a small Sad Astronaut Boy circular necklace.
But back to my experience with this product. So the first batch I decided to follow the instructions to the letter and came out with some good results. I used the kit’s mold and also followed their doming tutorial to create a small Sad Astronaut Boy circular necklace.
After 12 hours of letting them dry, the resin still feels soft. This made it easier to trim off loose flanges that were on the edges or bend flatter resin pieces without leaving finger prints. The ability to bend might sound like a bad thing, but can actually be a good thing if you want to make rings or other objects that you want to bend around something.This also helped in drilling holes to attach loops, sting, or anything else to turn it into a necklace. But when I let it dry further it was no longer soft and happily wasn’t damaged when my cat decided to toss it about the room.
![IMG_2040[1]](http://www.artofdawn.com/wp-content/uploads/2013/06/IMG_20401-e1370461239359.jpg) The next batch was a bit more of an experiment and I delved a little away from the tutorial. I tried using glitter, attempted to create layers in the mold, used different types of paper, added items, used gold paint, etc.
The next batch was a bit more of an experiment and I delved a little away from the tutorial. I tried using glitter, attempted to create layers in the mold, used different types of paper, added items, used gold paint, etc.
I somewhat followed the tutorial on how to add layers and they came out alright, but I had some problems with the backgrounds. I got a lot of air bubble issues and items floating to the top often. I came to realize that I should have trimmed the background piece a little better. Something I will do in the future.
I found the different types of paper experiment to be interesting. I used my own glossy photo paper since I have a lot left from one of my art classes and cardstock paper. The paper is a type that doesn’t bleed easily and should keep the image once in the resin. But the cardstock image became much darker than the photo paper. But both have their own charm in my opinion.
So far I’m enjoying the product. It’s easy to use and I like the end results. Only issue I could see people having is that it takes a long time for it to dry and requires space/time to create. Not something that I would work on the night before a comic convention to have product at the booth, but something I would work on weeks beforehand.
So expect jewelry and maybe keychains at my booth in the future. I won’t have it at the San Diego Comic Con’s Art Show (just my artwork) but I should have some ready for the next Long Beach Comic Con. Also plan to add some to the online shop.
Let me know if you would like to see any specific pieces of artwork turned into jewelry in the comments below and I’ll see what I can do!
You must be logged in to post a comment.